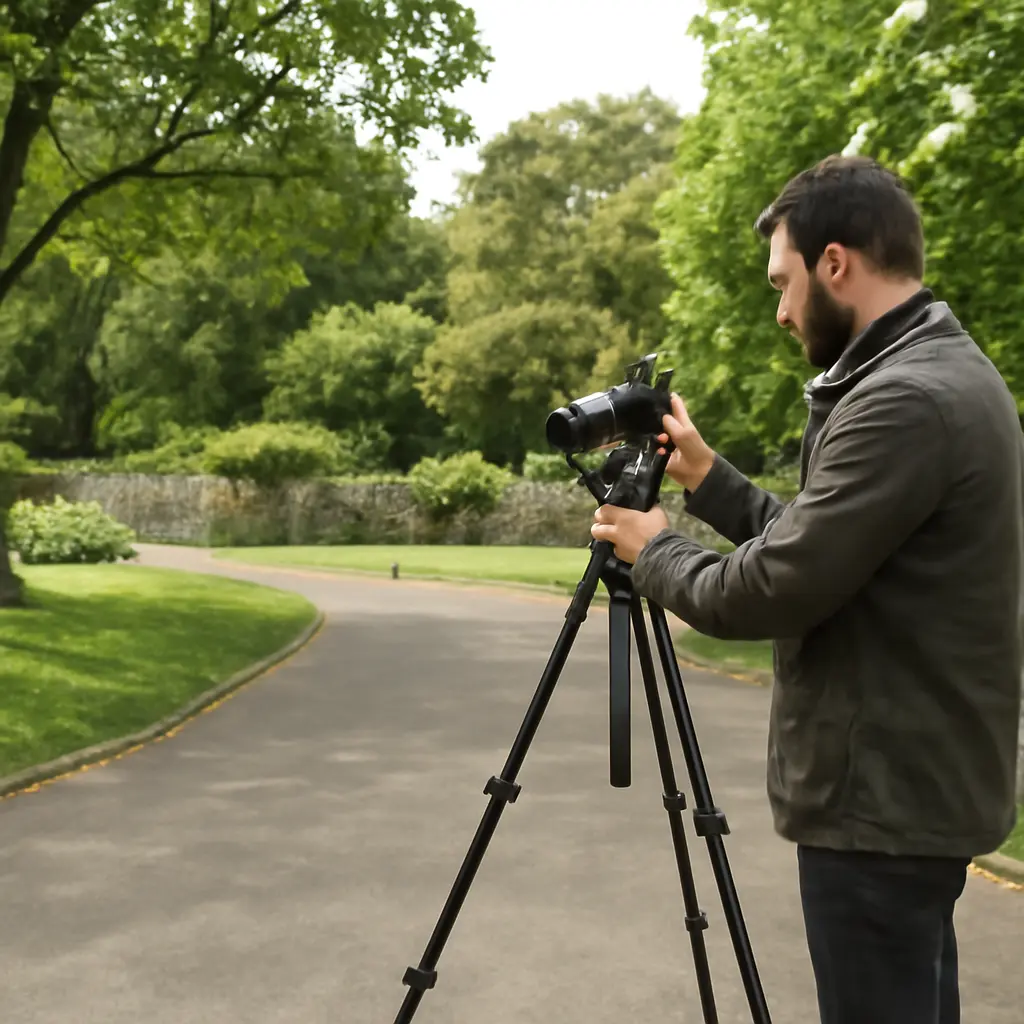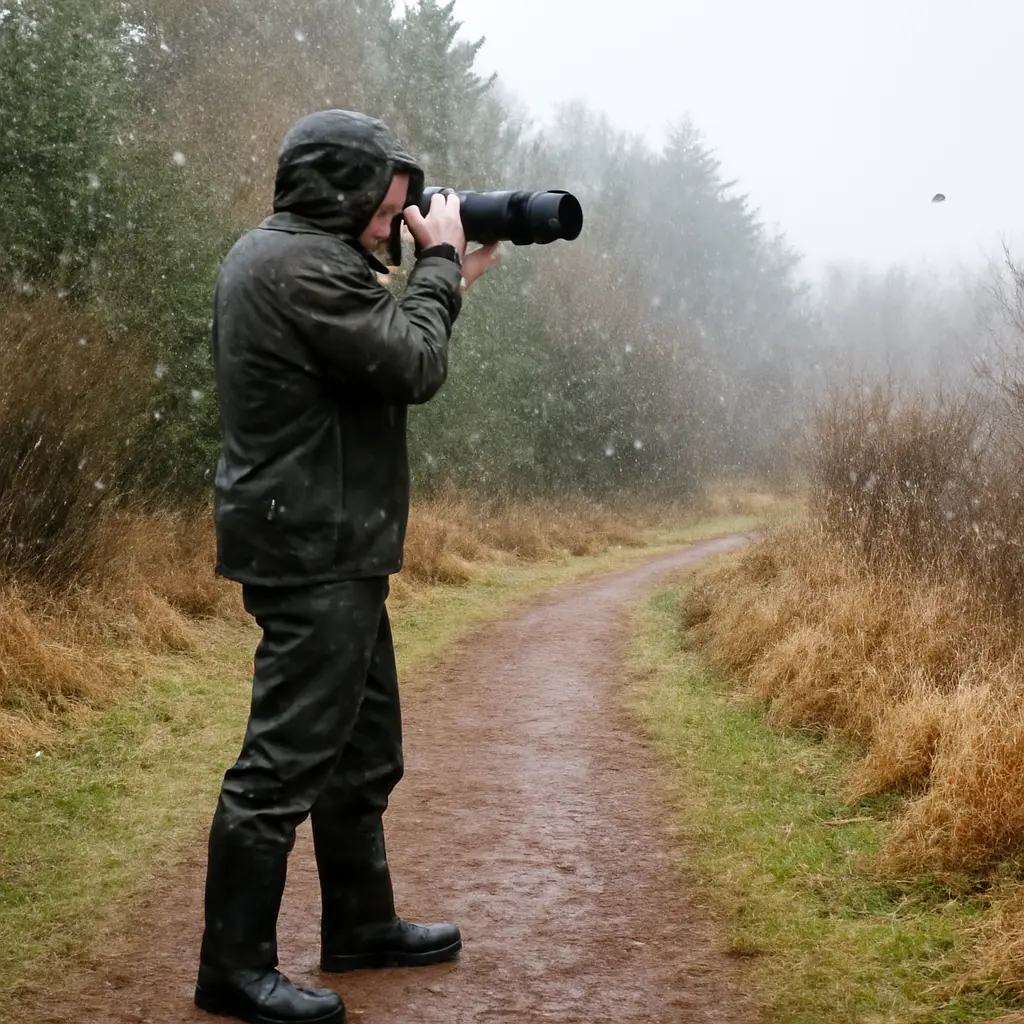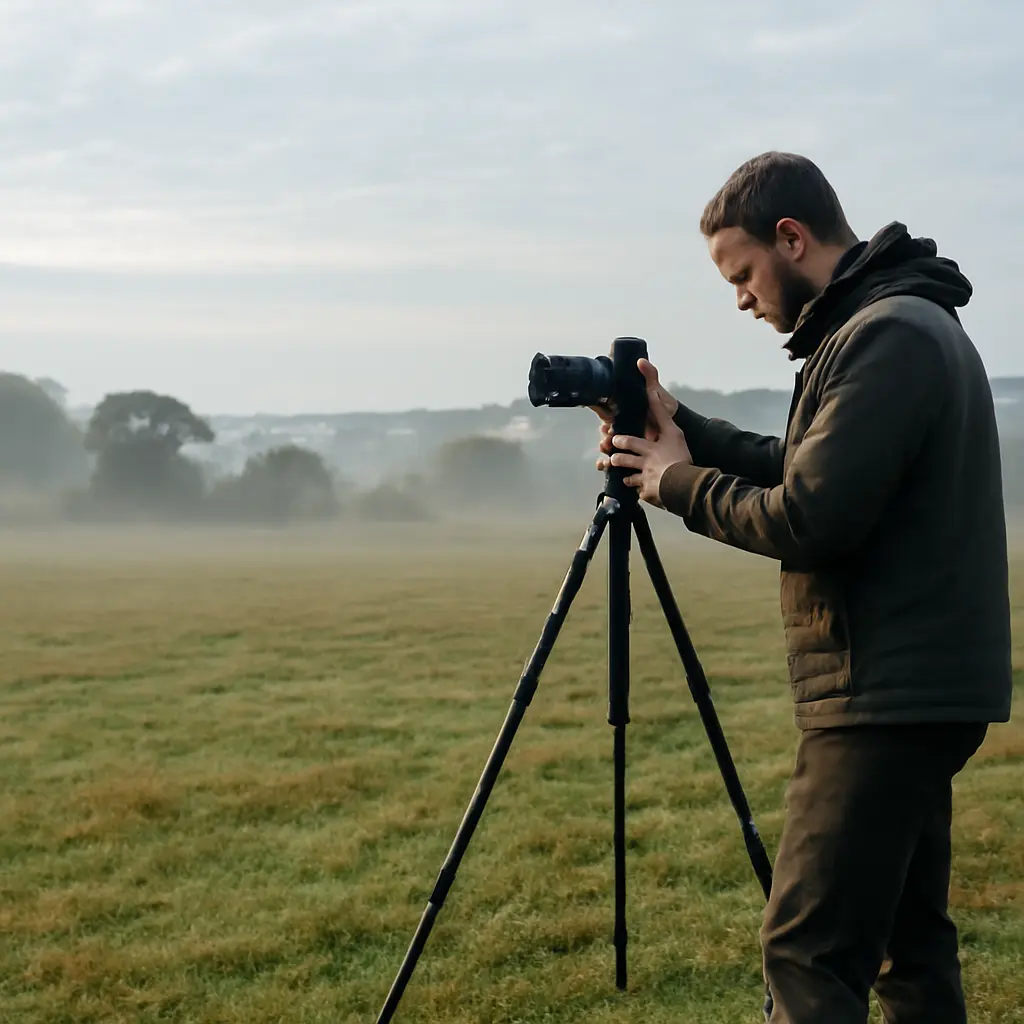
Weather is one of black-and-white photography’s most effective tools: it changes the direction and softness of light, the separation between tones, and the atmosphere of a scene. Strong monochrome photographs often emerge when weather creates clear tonal structure—such as low-angle sunlight and long shadows, mist that simplifies distant forms, or storm clouds that give the sky texture. The best conditions depend on the subject and the desired mood, so photographers benefit from reading forecasts for cloud cover, fog, rain, wind, and the sun’s position rather than simply waiting for clear skies.
Weather conditions shape black-and-white photograph tone and form
Black-and-white photography records brightness values rather than hue. In its digital guidance, Adobe describes grayscale images as images made from shades of gray that range from black to white. For photographers, weather matters because it changes the light falling on a scene—and therefore affects highlights, shadows, contrast, texture, and the tonal separation between objects.
A useful working definition is that favorable monochrome weather is weather that produces lighting and atmosphere suited to the image’s intended tonal design. It is not a single forecast condition: bright sun can emphasize graphic shapes, while overcast skies can reveal subtle surface detail. The National Weather Service defines fog as a cloud at ground level that reduces visibility; that suspended moisture can also simplify backgrounds and create depth in photographs. These effects make weather a practical compositional tool, not just a backdrop.
Sunlight and shadow create graphic contrast
Direct sunlight produces comparatively strong highlights and shadows. When the sun is low, shadows stretch across streets, fields, and building faces, turning ordinary forms into lines and geometric shapes. In monochrome, those patterns can become the subject because color no longer competes for attention. This is especially useful for architecture, landscapes, and street photography.
The sun’s position is predictable enough to plan around: it completes an apparent 360-degree path in roughly 24 hours, while its angle and direction vary with time, season, and location. Use a sun-position tool or local sunrise and sunset times to anticipate side-light and long shadows. Expose to preserve important highlights, then check whether shadow areas retain enough detail for the intended result.
Overcast skies reveal texture and tonal nuance
Cloud cover acts as a broad diffuser, softening the light and reducing the harsh shadows associated with direct sun. This can help photographers record texture in skin, stone, foliage, and weathered surfaces. Overcast conditions are particularly useful for portraits and close-ups where a wide tonal range and gentle transitions matter more than dramatic contrast.
A uniformly gray sky can, however, become a bright, featureless patch in the frame. Compose to exclude it, let it serve as deliberate negative space, or wait for breaks in the cloud to add structure. A polarizing filter may darken some skies under suitable angles to the sun, but its effect depends on the scene and can be uneven across a wide-angle frame.
Atmospheric weather adds depth to black-and-white photographs
Once the basic light is understood, atmospheric conditions offer another set of tools. Fog, haze, rain, and snow alter visibility and surface appearance. Their shared photographic value is selective simplification: they can reduce background detail, separate planes, or make familiar subjects look unfamiliar. The result depends on how strongly the atmosphere affects the scene and how the photographer positions the subject within it.
Fog and mist separate planes
Fog and mist are suspended water droplets near the ground; in practical photography, both can reduce contrast with distance. Near objects remain relatively dark and defined, while distant trees, hills, or buildings fade toward lighter gray. This atmospheric perspective creates depth without relying on color and can simplify a crowded landscape into a sequence of tonal layers.
The National Weather Service uses visibility of less than one-quarter mile as the threshold for fog, distinguishing it from less dense obscuration. That meteorological definition is useful for safety and forecasting, though photographers can find visually effective mist at greater visibility. In a real-world example, a row of trees receding through morning fog can produce repeated silhouettes and progressively lighter tones. Focus on a foreground element, expose carefully for pale fog, and keep a safe distance from roads, cliffs, and waterways when visibility is poor.
Rain and wet surfaces intensify reflections
Rain darkens many surfaces and creates reflections on pavement, stone, and glass. In black and white, the contrast between a dark wet street and bright reflected signs or windows can form strong visual anchors. Raindrops on a window can also provide a foreground layer, while rain streaks may communicate movement when the shutter speed is long enough to record them.
The photographic opportunity comes with practical limits. Protect the camera and lens, use a lens hood or cloth to manage droplets, and check the equipment maker’s weather-resistance guidance. Wet pavement can be slippery, and storms may bring lightning or flash flooding; the National Weather Service advises moving indoors during thunder and staying away from floodwater. A photograph is never worth entering a hazardous area.
Snow turns scenes into high-key studies
Snow can simplify a landscape by covering small distractions and creating broad bright surfaces. Dark trunks, fences, and footprints then stand out as graphic marks. Fresh snow is not necessarily pure white in a photograph: its recorded tone depends on exposure, light direction, sky color translated into grayscale, and the camera’s metering assumptions.
Because a bright snowfield can lead a camera meter to reduce exposure, review the histogram and highlights rather than relying solely on the meter’s suggested reading. Exposure compensation may be needed to keep snow from becoming gray, but the appropriate amount varies with the scene. During snowfall, a faster shutter can freeze flakes, while a slower shutter can render them as streaks; test both when conditions allow.
Clouds, wind, and changing weather support stronger compositions
Weather can also add structure through moving clouds and wind. These conditions matter most when the photograph includes a broad sky, water, vegetation, or other elements whose appearance changes over time. By matching exposure and composition to that movement, photographers can make weather an active part of the image rather than incidental scenery.
Storm clouds give skies tonal structure
Clouds provide visible variation in brightness that can become dramatic in monochrome. A textured sky can balance a dark foreground, while a break in the clouds may create a bright patch that directs attention toward a landscape feature. Side-light often makes cloud forms more legible than flat frontal illumination.
Look for contrast between cloud layers and the land, and avoid allowing a bright sky to overwhelm the subject. A graduated neutral-density filter can reduce the brightness difference between sky and foreground in some scenes; a graduated adjustment in editing is another option. Storm photography requires caution: the National Weather Service recommends going indoors when thunder is heard, since lightning can strike far from the storm’s visible center.
Wind and moving clouds create motion
Wind can animate grasses, tree branches, flags, and water, while moving clouds can leave streaks in a long exposure. These effects introduce directional movement into a medium that otherwise depends strongly on shape and tonal contrast. A tripod helps keep stationary forms sharp while the moving elements blur.
The exposure time determines how motion appears: a brief shutter speed freezes movement, while a longer one records it as blur. There is no universal shutter-speed threshold because the result depends on wind speed, subject distance, focal length, and the motion’s direction. Make a sequence of test exposures and inspect both the moving subject and the stable parts of the frame.
A practical weather-to-image workflow
A forecast is most useful when translated into a visual plan. Before leaving, check cloud cover, precipitation, wind, visibility, sunrise or sunset, and any official warnings. On location, identify the main tonal relationship—such as a dark subject against fog or bright snow against tree silhouettes—and make a test frame to confirm that the desired separation is present.
- For graphic contrast, seek low-angle direct sunlight and a subject with clear edges.
- For gentle detail, use bright overcast conditions and control how much sky enters the frame.
- For atmospheric depth, look for fog or mist with distinct foreground and background layers.
- For reflections and dark surfaces, photograph after rain while protecting equipment and footing.
- For motion, test shutter speeds on windblown subjects or moving clouds, using a tripod when appropriate.
- For snow, check highlight detail and exposure rather than assuming the meter will render white accurately.
A useful chart for planning is a simple weather-to-effect matrix: list conditions in one column—sun, overcast, fog, rain, snow, wind—and likely visual effects in another—hard shadows, soft detail, layered depth, reflections, simplified forms, or motion. The matrix is a planning aid rather than a guarantee; the subject, viewpoint, exposure, and local light still determine the final image.
Conclusion: choose weather for the tonal story
Stronger black-and-white photographs come from matching weather to intent. Direct sunlight can create graphic shadows; overcast skies can reveal subtle texture; fog can separate distant planes; rain can add reflections; snow can simplify a scene; and clouds or wind can introduce structure and movement. These are not fixed recipes, but ways to anticipate how conditions will shape brightness, contrast, and atmosphere.
The broader lesson is to treat the forecast as part of composition. Plan around light and visibility, make test exposures, and prioritize safety in storms, poor visibility, and slippery conditions. For further study, compare the same location under different weather, then review the resulting images in grayscale to see how each condition changes tonal relationships.
Sources: Adobe, “Grayscale,” https://helpx.adobe.com/photoshop/using/color-modes.html; National Weather Service, “Fog,” https://www.weather.gov/safety/fog; National Weather Service, “Lightning Safety,” https://www.weather.gov/safety/lightning; National Weather Service, “Flood Safety,” https://www.weather.gov/safety/flood